Perbandingan Harga dan Layanan Aplikasi Top Up Populer: Temukan yang Terbaik untuk Kantongmu! Di zaman serba digital...
Bagaimana Aplikasi Top Up Mendukung Industri Game Online? Dunia game online sekarang ini udah kayak lautan luas...
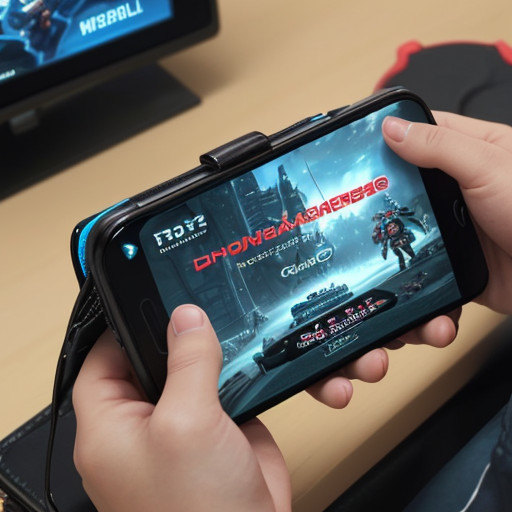
Top up diamond, beli skin keren, atau upgrade senjata andalan? Rasanya semua gamer pasti pernah merasakan godaan...

Bosan Ribet Top Up Diamond? Tenang, Ada Solusinya! Main game online, khususnya yang bergenre Mobile Legends, Free...
Bagaimana Platform Digital Membentuk Ekosistem Top Up Game Pernahkah kamu bertanya-tanya bagaimana kamu bisa dengan mudah mengisi...
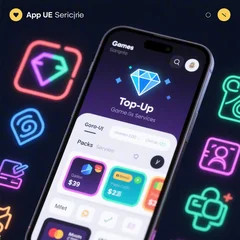
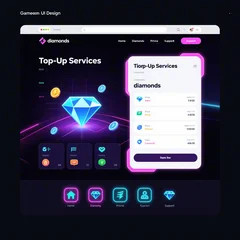
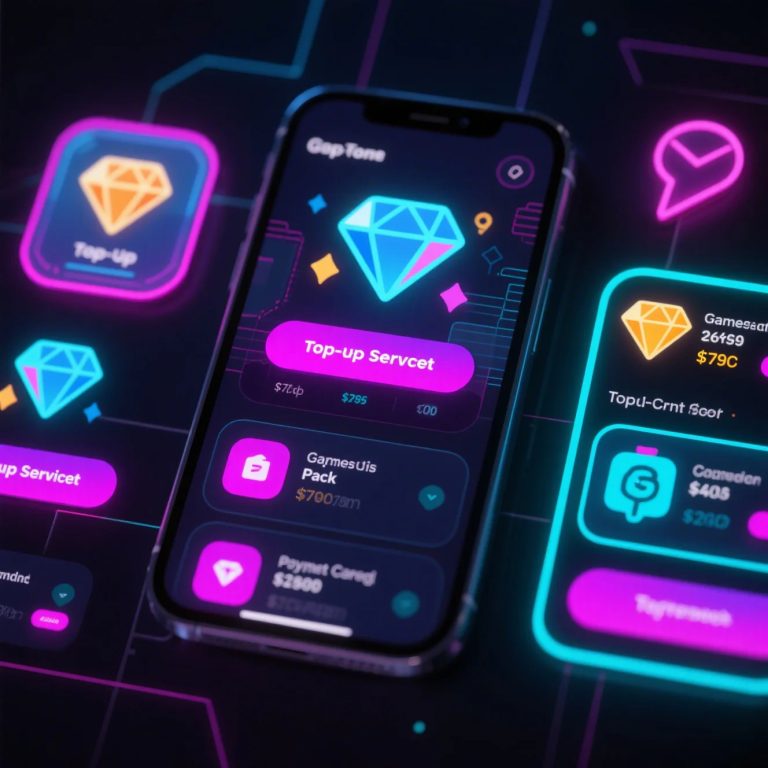
Aplikasi Top Up Diamond: Solusi Praktis untuk Para Gamer Bosan dengan proses top up diamond yang ribet...
Zaman dulu, mau main game online, kita mesti repot banget. Bayangin, isi saldo game cuma bisa lewat...
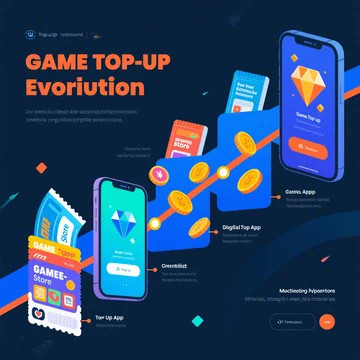
Dari Voucher Fisik ke Aplikasi: Sejarah Awal Top Up Diamond Pernahkah kamu membayangkan, untuk bermain game online...
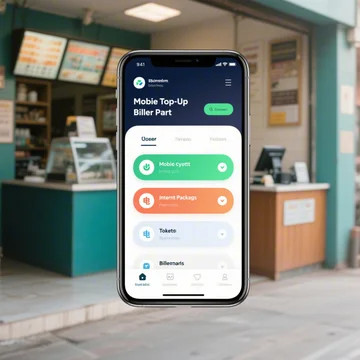
Mulai bisnis pulsa? Asiiiik! Tapi tunggu dulu, jangan sampai terburu-buru memilih aplikasi pulsa PPOP (PPOB) sembarangan. Bayangin...

Mulai bisnis pulsa? Asiiiik! Tapi tunggu dulu, jangan sampai terburu-buru memilih aplikasi pulsa PPOP (PPOB) sembarangan. Bayangin...